Wednesday, December 18, 2019

Achappam - Rosette Cookies

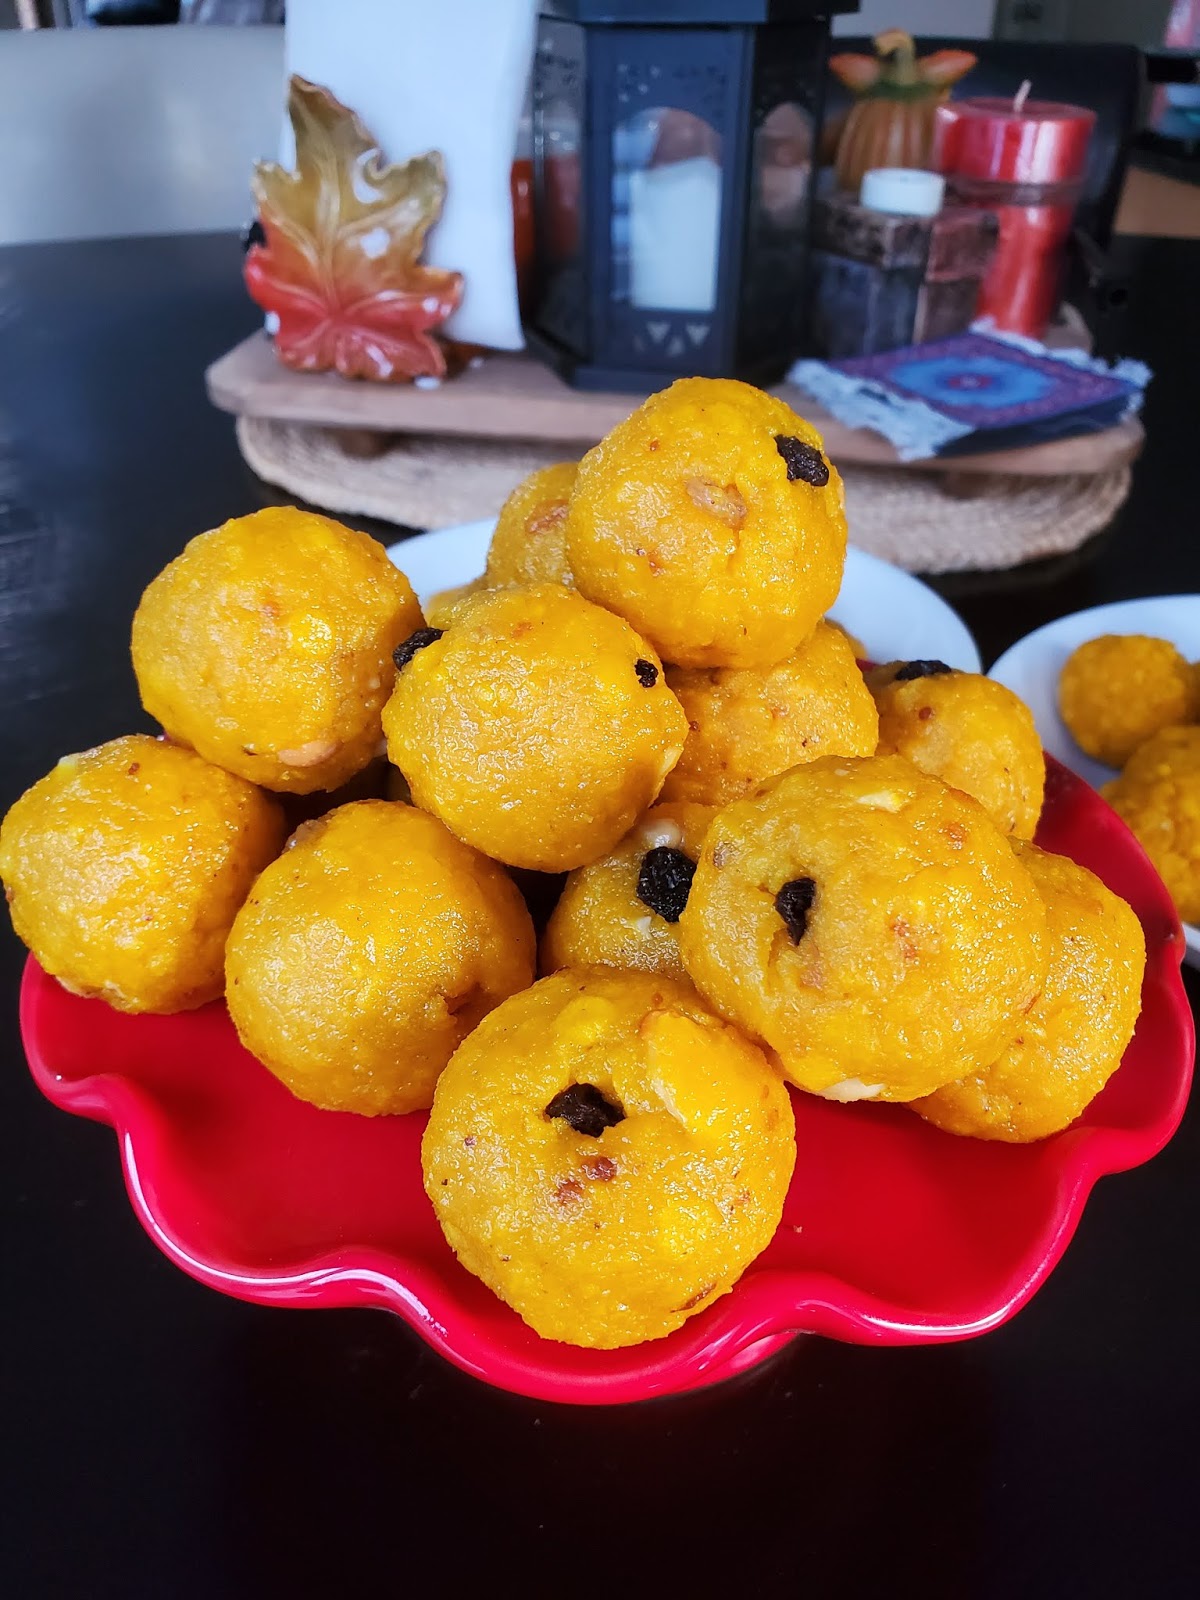
Achappam is one of my favorite Indian Snacks. The " achu" ( achappam maker )has been sitting in my kitchen since the last 4-5 years... I have never once dared to make this thinking it was a herculean task. Recently I watched Lakshmi Nair making these and it looked very easy. So this has been on my mind since I saw her recent vlog.

This morning I woke up thinking about achappam, and I did not want to push it any further. I went straight to the kitchen and started prep work for achappam. I watched her video again to get the recipe ( I tried calling my mom but there was no answer and I had to make it NOW !!!); I tried the proportion she mentioned in her video and I just wouldn't get the desired batter consistency. **So I made some alterations to her recipe to get the batter to a smoother consistency.


Here's mine :

Rice flour -  4 cups ( used Idiyappam flour as this was all I had at home) - mine was roasted flour
Eggs -  4 eggs ( This makes it too soft, limit to two; I used 4 which made the achappams not as crispy )
Coconut milk - Roughly 2 cups ( used the milk of freshly grated coconut)
Sugar - between 1/2 - 3/4 cups
Salt - to taste
Black Sesame seeds - 1 tbsp

Mix well, till you get a nice smooth batter, not too runny.

Tips:

  1. Heat oil really well. Let the achu maker be in the oil as the oil gets heated.
  2. Dip the achu in the batter, DO NOT let it reach till the top of the achu, else it will not come off easily when you dip it in the oil.
  3. Dip the achu with the batter into the oil and tap the achu with your other hand to facilitate the releasing of the achappam into the oil.
  4. Take the achappam off from the oil and let drain the extra oil off.
  5. Put the achu BACK into the HOT OIL and then dip into the batter for making the next one.
  6. Be patient, you can only make them one after the other. Else you should be one of those experts, which I am not.
https://www.facebook.com/180823332274899/videos/564421070792932/?t=5
********************************************************************************
**Notes: I figured out that when you use unroasted flour, you can stick to Laskhmi Nair's recipe as below:

Rice Flour unroasted -  4 cups
Eggs - 2
Sugar -  1/2 cup
Coconut milk - a little more than 1/2 cup
Salt  - to taste
Black Sesame seeds - 1 tbsp
*********************************************************************************
Valsa aunty, made  achappams for Christmas and they were really good too. Here is her recipe:

1 and half cup of rice flour( She had only Puttu podi which is more of a coarse powder, she ground it in the coffee grinder and made it fine powder)

1/2 cup of Maida

Egg - 1

Sugar - per your taste ( 1/2 cup )

Coconut milk - 1 can


Thursday, December 12, 2019

Dates Achaar

Dates Achar


What you need to get started?

Chopped Dates -  1 and 1/2 cup
Ginger (julienne style) - 1 and 1/2 tbl spoon
Garlic ( sliced thin) - 1 and 1/2 tbl spoon
Curry leaves -  Generous 2 sprigs
Sesame Oil -  1 cup
Mustard Seeds -  1 tbl spoon
Chilli powder -  3 tbl spoon
Turmeric powder - 1 tsp
Fenugreek Powder - 1/4 tsp and a little more
Asafoetida - 1/2 tsp
Vinegar 1/2 cup approx - adjust to suit your taste
Jaggery - 1/4 cup approx - adjust to suit your taste
Salt - to taste


Method:

  1. Heat Oil
  2. Add mustard seeds and let it splutter
  3. Add curry leaves.
  4. Add ginger, garlic and saute.
  5. Add chilli powder, tumeric powder. asafoetida and fenugreek powder and saute.
  6. Add chopped dates and saute, let it cook well for 5-7 minutes on medium flame.
  7. Add salt.
  8. Add the vinegar and once it starts boiling, add the jaggery. ( add to adjust according to your taste)


Carrot Date Cake

Carrot Date Cake 

( Moist and Chewy Carrot Date Cake)


What you need to get started?

Flour -  1 cup
Baking Soda - 3/4 tsp
Salt - a pinch
Eggs - 2 large
Sugar - 3/4 cup
Sugar -  1/2 cup to make caramel
Canola Oil - 3/4 cup
Vanilla Extract - 1 tsp
Grated Carrots -  1 cup
Chopped Dates -  1 cup
Sliced Cashew Nuts - 1/2 cup


  • Preheat oven to 350 degrees Fahrenheit.
  • First Start with the Caramel, this gives it time to cool while putting together the rest of the ingredients.
  • In a saucepan, heat the 1/2 cup sugar in medium flame. Do not stir. Swirl the saucepan on and off.
  • When the sugar has melted and the desired color of caramel has been achieved, add 1/4 cup hot water and set aside to cool.
  • Beat the eggs and sugar until creamy and smooth.
  • Add vanilla extract and oil to the above liquid mixture and mix well.
  • Add the cooled caramel syrup to the above mixture and mix well again.
  • Add the baking soda to the flour and sift well and add this to the liquid mixture and stir well.
  • Save one spoon of dates for later, and add the chopped dates, carrots and cashew nuts to the above batter and stir well.
  • Add  1/2 tablespoon of flour to the tablespoon of dates that was set aside and add to the cake mixture.
  • Bake at 350 degrees Fahrenheit for 35 - 45 mins.


Enjoy the chewy yummy Carrot Date Cake.  :-)

Thursday, November 21, 2019

Ladooooooos

Making Ladoos has never been easier! This is the easiest and the least complicated recipe I have come across. Very minimal ingredients...easy peasy it is! By the way, this was my first time making it and I thoroughly enjoyed it...

Ingredients:

Boondies:

Gram flour - 2 cup
Food color - 1 tsp
Water - 1 cup ( make a thick batter, ensure there are no lumps )
Water - 1/2 cup ( to make a thinner batter, runnier, this is what you need, flowing consistency)
Black current -  1 tablespoon
Cashewnuts chopped- 1-2 tablespoons
Ghee - 1 tbsp

Fry the Boondies, ensure that the oil is really hot, else you will get big lumps. the idea here is that the boondi should cook as soon as it falls into the oil so that they don't stick together.


Sugar Syrup:

Sugar -  1 cup
Water - 1/2 cup, let sugar dissolve, boil for about 5 mins.
Cardamom Powder - 1/4 tsp
Lemon Juice - 1/2 tsp ( add while the syrup is boiling to prevent crystallization)


Method:


  1. Once the syrup is ready, switch off the flame.
  2. Now add the fried boondies into the sugar syrup.
  3. Close and keep for 5 minutes so that the boondies soak well in the syrup.
  4. Add 2-3 tablespoons of chopped cashew nuts.
  5. Add 2-3 tablespoons of black raisins.
  6. Add 1 tablespoon of ghee.
  7. Make round balls and enjoy !!!!

Monday, November 18, 2019

Appam - Palappam, Vellayappam, Vattayappam


Look at the steam going up as sweet aroma and filling my living room and kitchen. It truly is divine and goes so well with Kadala curry ( black channa dal), Egg roast, Egg curry, Mutton stew, Chicken stew, Veg stew, Veg kurma or even just plain old coconut milk and sugar, which was my favorite one as a child.  I would still enjoy the coconut milk and sugar had it not been for the yearly physical examinations ;) and blood work.

With this recipe, I could guarantee you would get crispier side Appams ( also called Palappams) and softer on the center and extremely soft vellayappams and vattayappams !!!


What you would need to get started - Ingredients 


  1. Raw Rice           - 2 cups
  2. Grated Coconut - 1 cup
  3. Cooked Rice      - 1/2 cup
  4. Semolina            - 2 tbsp
  5. Sugar                  - 1-2 tsp
  6. Yeast                  - 1/2 tsp
  7. Coconut water   -  1 can ( just follow the one in the pic below)
  8. Coconut milk    -  as needed - I use coconut milk instead of water for grinding, this makes the batter super soft.


Here are pics of the ingredients I use, if you need to see them.


Method:

1) Soak the raw rice in water after washing well for about 4-5 hours.
2) Just 10 mins before you decide to start grinding the rice, add 2 tablespoons of warm water to the yeast with 1/2 tsp of sugar and close it with a lid.( we do this just to see if the yeast is active, if its a new packet that you are opening, you can add it directly to the rice while grinding)
3) 15 mins before you start grinding, add 1/2 cup of water to the vermicelli to a saucepan and keep stirring till it is cooked and then cool it before you add it to the rice mixture for grinding along with rest of the ingredients.
4) Grind all of the ingredients to a smooth batter.

For the vellayappam ( smaller appam) and the vattayappam , make the batter a little coarse, the batter should be runny.

Overall, the consistency of the batter should be like the dosa batter for the Appam and like the idli batter for the smaller appams.

Hope this helps !


If you use brown raw rice, you would appams like the ones below, I believe they would be more healthier.... brown or white - either ways, the appams are awesome !!!


Some vellayappam and mutton curry :-)


While making vellayappam ( small appam) make sure, you don't flip it, you should just pour the batter, then cover and cook till like 25-30 seconds, depending on the flame ( use medium flame).

I use a transparent lids to cook this, so this way without lifting the lid, I know if the vellayappam is cooked or not.

Here is a video... sorry about the quality -


Not sure, if it works or not ;) let's check, after I publish the post.


Monday, November 4, 2019

A fall weekend

How I wish I was more consistent in posting the pics and updating the blog, I have a ton of food pics in my camera and on the phone which I keep clicking in the hopes of keeping the blog and Food Vishesham page on FB active. Today, I finally downloaded the pics and I was wondering whether to start with the older foodie pics clicked several months back or with the latest one. Finally decided on starting off with the most recent ones as the memories are still so fresh in my mind.

So, this was my last weekend. I had guests coming in on Saturday for dinner and Sunday lunch. I cooked the same menu again on Sunday as I had all the needed ingredients except that I added an additional fish fry for the Sunday lunch.

Made some Mango lassi for a drink, which is a no-fail recipe and everyone's all-time favorite. Then had some chicken tikka on skewers, some butter chicken and garlic naan, lamb biriyani, raita, fish fry.

Here are some pics...

Hmmm..... trying to Upload pics.... looks like there is a problem with the site. I am going to have to come back later and try again.


Thursday, May 23, 2019

Pumpkin Visheshangal

So, I had these seeds when I went Pumpkin picking in October 2015 . I saved the seeds from the pumpkin thinking I should do some pumpkin" Krishi". But that never happened till 2019 :-).

Some pics of my pumpkin picking in 2015 in Carrigan Farms ...Oh memories !!!

This is the truck that takes us all to the pumpkin patch and brings us back happily with those pumpkins


For those who have never seen what a pumpkin patch looks like, look at the pic below :-)
Some more pics...


I was not even sure that seeds would germinate. I planted them in a pot indoor sometime during March 2019. Didn't even water it well, but, these are fighters, the seedlings showed up beautifully. By April sometime, I took them outside and planted them in the raised vegetable garden bed. Here are some pics of the pumpkin plants, April 2019 from the seeds I collected in 2015.

They do very faithfully give me flowers everyday, although no pumpkins yet, I wait patiently day after day hoping for at least one pumpkin for all the peat moss, garden soil, compost, water  and most importantly my love and attention I have been giving it for the last two months and also for keeping those seeds safe through the 3 moves that we had !

Here are the pics of my humble pumpkin patch :-) May 2019


So, yesterday Lilyaunty my neighbor, she came by and encouraged me to cut the leaves and the flowers and make a thoren. I wasn't quite sure people ate pumpkin leaves and flowers. I've been so paranoid to try anything new after being stung ( or whatever it is you want to call) by the Poison Ivy plant. (My poison ivy rash eposide is a whole different story which I will be putting it out there separately for my fellow poison ivy rash sufferers )

Pics of my Thoren :-) . Ok so I added some Red Chori Beans and Scrambled eggs to the thoren to give it a mass entry into our home ;) and let me say, it truly was so tasty and felt so healthy eating it.

I send a pic of this thoren to my cousin and he asked me to make " pacha morr" to go with it and I made that too, had some fish fry, Fish curry, pacha morr, and this awesome " pumpkin leaves and flower" thoren yesterday.

Here are some pics :


Hopefully, you enjoyed my pumpkin visheshangal. Thank you for patiently reading this or scrolling down till here. Have a wonderful rest of your day !


Love,
N~

Saturday, April 20, 2019

Oru Dhukha Velliyazhcha koodi.... ( One more Good Friday ...)

Was so blessed to have my parents with me this Good Friday.

It is good to meditate on the sacrifices of Christ everyday and especially during these lent days.

Isaiah 53:5-8 King James Version (KJV)

But he was wounded for our transgressions, he was bruised for our iniquities: the chastisement of our peace was upon him; and with his stripes we are healed.

Love the way how during these lent days papa reads from the Bible the portions specific to the Palm Sunday, Passover, Crucifixion of Christ and mummy during the family prayers sings songs specific to these events.

We did not do lent this year ( we usually don't  but my parents do the 50 days lent fasting and abstain from eating non-veg), however, we did very religiously prepare kanji and all the side dishes which go with the kanji and enjoy it this year too :-) . Here are some pics....